(Food is Love. Food is Culture. Food is Connection. Food is Adventure.)


Showing posts with label onions. Show all posts

Monday, November 19, 2012

Pot Roast

Hubby and I recently became members of the M.F. Dulock Pasture Raised Meats "meat club," wherein for a certain set price each month, you get a minimum of 5 pounds of the butchers' selection of various meats and offal, plus bones for stock above and beyond that 5 pound base weight.  This month, included in our bag (which incidentally weighed a good amount over the 5 pounds) was this beautiful two-pound bottom round.  We decided to turn into a pot roast.


We did our Googling, and chose to base our efforts on this recipe by The Pioneer Woman.  We of course, as usual, added our own twists and turns to it.

Step 1: Preheat the oven to 275-degrees.

Step 2: Generously salt and pepper the meat.


Step 3: Roughly chop a whole onion and toss it into a large enameled cast iron pot (or whatever oven-safe pot with a lid that you have) along with a couple tablespoons of very hot (but not smoking) olive oil.  Cook them for a few minutes until they start to turn brown:


Step 4: Remove the onions from the pot and repeat the quick browning procedure with some chopped carrots.  You  may or may not need to add a little more oil to the pan -- you be the judge....for the record, I didn't add any myself.


Step 5: Remove the carrots from the pan and brown the meat on all sides, again adding a touch more oil if you think you need to.  I did choose to add a little oil at this point.


Step 6: After removing the meat from the pan, deglaze it using a little bit of red wine (or beef stock or water if you don't have wine).  Pictured below is the wine the we happened to have sitting around last night, so that's what I used.  I only used enough to barely cover the bottom of the pan, though, because I needed to reserve about 2 cups of it for another upcoming recipe.  I wanted more liquid than that for deglazing, however, so I added a little of my homemade beef stock, too.


Step 7:  Here, because I wanted more vegetables in our final dish than just carrots and onions, I opted to chop up two russet potatoes and a few mushrooms.
 

Step 8:  Now it's time to put it all back in the pot.  First, in goes the meat.  Then, pour in as much beef stock as is needed to cover it about halfway up.  Next, toss in all the veggies.  Finally, top it off with Rosemary and Thyme....as much as you like, and fresh if you have it (we used dried).


Step 9:  Put the lid on your pot and bake it all together for about 2 hours.  (I think the rule is about an hour per pound of meat.)  We happened to let ours go for 2 hours and 20 minutes.


This is what it will look like when it comes out.  Try not to dive in too fast, though....it's very, very hot.  Plus, you still need to make the gravy.


Put the meat on a plate to let the juices redistribute, and scoop the vegetables out of the pot, leaving all the liquid still in there.


Bring it to a boil on your stovetop to reduce it down as much as you like.  We let it boil for 5-10 minutes, then used a cornstarch slurry to give it one final thickening.  (I know that some schools of though, including my beloved A.B., frown upon letting corn starch anywhere near gravy, but since I am currently not eating wheat unless it's necessary or a special occasion, we opted to skip the usual flour route -- it still tasted great.)


Slice up your meat, plate it with a scoop or two of the veggies, top it with the gravy, and enjoy!!


Everything was delicious, and the meat was so tender.  The only thing I would do differently next time is perhaps cook it for a little less time, because the potatoes were squishier than I would have liked and meat on the rarer side is always preferred in our house.  But other than that, it was a definite success that we are happy to have lots of leftovers of for lunches.

Thursday, September 27, 2012

Sweet "Bread & Butter" Pickles

Oh, boy.  Oh, boy oh boy.  This post has been in the works for over a week because we had to wait for the product to ripen before we could taste test it.  And they are good!


We were moved to finally make our own homemade pickles (which we have been wanting to do for a long time now but just never got around to it) because we have a very generous neighbor who leaves bags of freshly grown and picked produce on our door at least once every couple of weeks throughout the summer.  Case in point, we still have three gallon-size Ziploc bags of green beans in the freezer.  Yum.  He apparently grew a LOT of green beans this year.  :)  Anyways, there were also a lot of cucumbers -- too many for us to eat before they went bad.  So....pickle time!!!

We searched the Interwebs for recipes, and surprise, surprise, settled on one from our favorite wacky mad-scientist chef: Alton Brown.  It's called Ab's B and B's, which of course we amended given the ingredients that we had on hand when we finally got to work.  For example, we didn't have Pickling Spice, so we Googled to find out what the various mixes would contain, and then concocted our own from there.

Here's how we did it....

INGREDIENTS
  • 2 medium cucumbers, thinly sliced (I couldn't say exactly how many or how much we actually used -- we just chopped some of the cucumbers that we had until we were satisfied that it was enough to mostly fill the jars that we were going to use)
  • 1/2 onion, thinly sliced
  • Garlic cloves (however many you like - we like more than the "norm")
  • 1 cup water
  • 1 cup apple cider vinegar
  • 1 1/2 cups sugar
  • A pinch of kosher salt
  • Bay leaves - 4
  • Whole Cloves (see picture below for how much - we didn't measure)
  • Whole black peppercorns (see picture below for how much - we didn't measure)
  • Juniper berries (see picture below for how much - we didn't measure)
  • Cinnamon Sticks - I think we used 2 or 3, broken into pieces


PROCESS

1.  Combine the liquids (water and apple cider vinegar), the sugar, and all spices in a pot.  Bring it to a boil, then allow it to simmer for about five minutes to "wake up" the flavors of the spices.

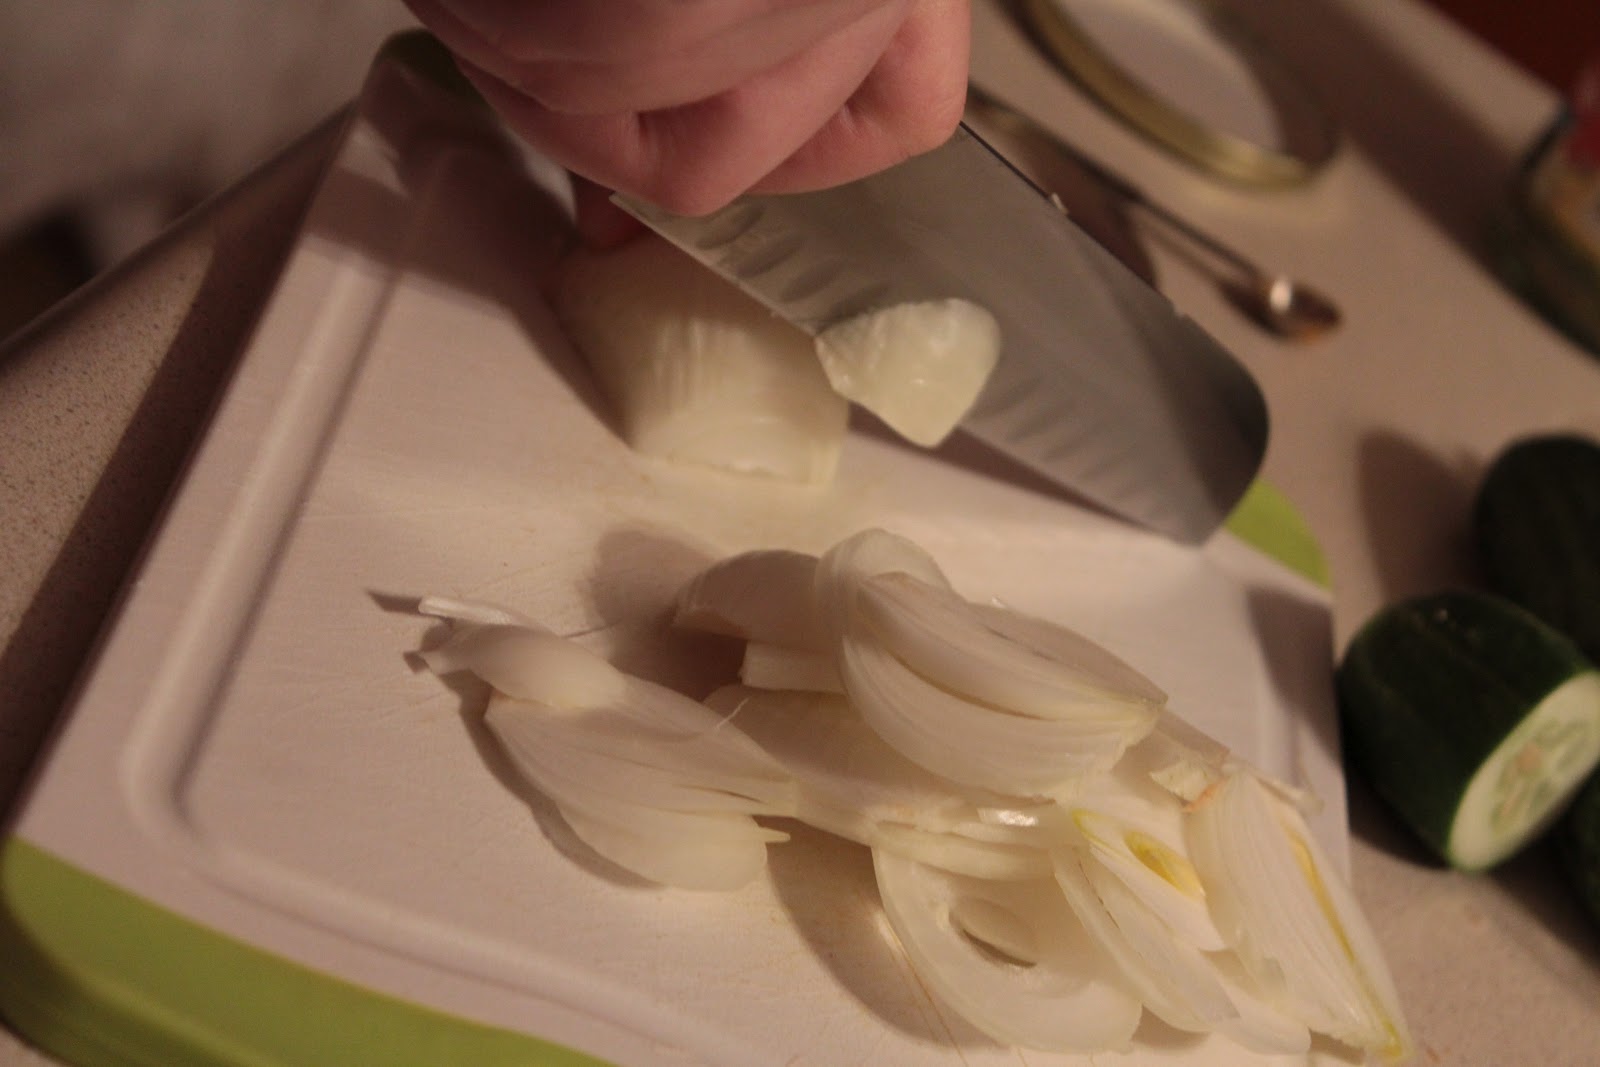
2.  Meanwhile, slice up your cucumbers and onions.


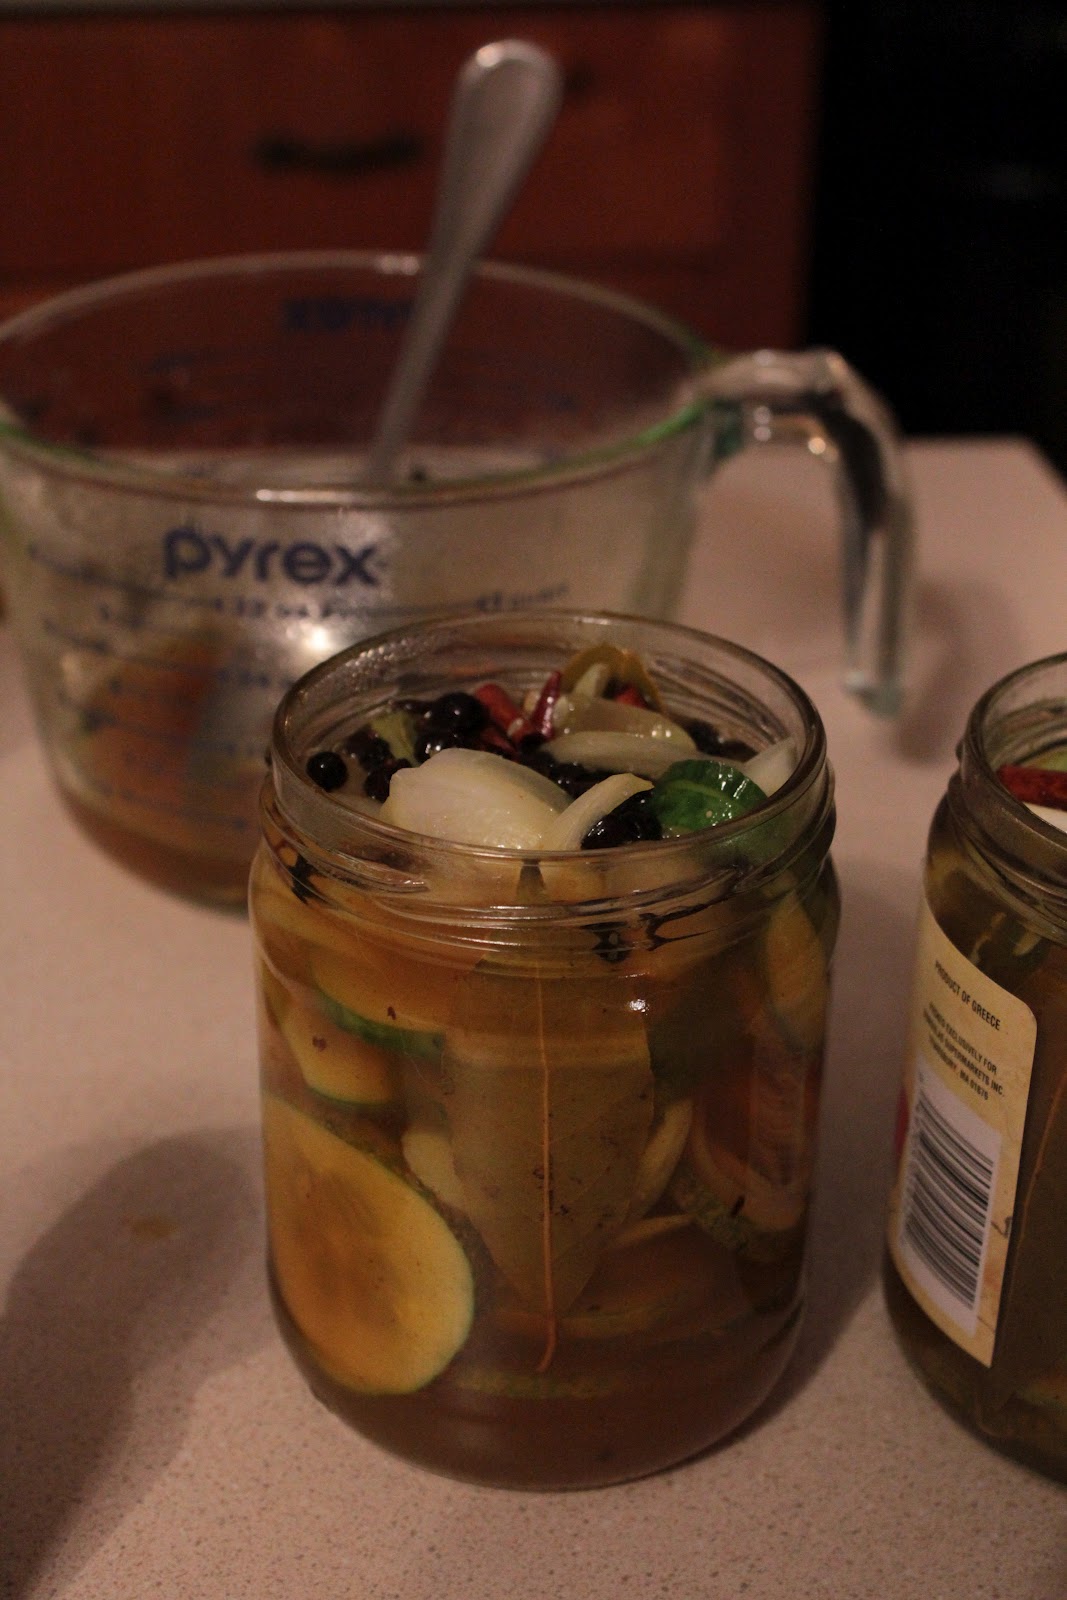
3.  Transfer the cooked pickling liquid (spices and all) to a container with a spout (such as a large measuring cup or a pitcher) for easy pouring.  Fill your jars with alternating layers of cucumbers and onions, with a garlic clove thrown in here and there.  Then slowly pour the still hot pickling liquid (spices and all) into each jar until everything is covered.


4.  When the liquid is cooled, cover your jars and pop them into the refrigerator.  (By the way, you could be using screw top jars, spring-top jars, or whatever kind of jars you like or have on hand -- you can see that we are using old salsa jars.)


5.  This is the hard part -- Wait a whole week.  (I took it upon myself to shake about the jars every few days, to make sure all the cucumber and onion slices were still completely submerged in the liquid, and that the spices were distributed all around and not clumped in any one area.  This step wasn't in the recipe we worked from, so I doubt it's really necessary.  But I got to feel like I was doing something and helping the process along.)

6.  Finally, after you have waited the prescribed amount of time, bust open those jars and munch.


Your pickles will keep for a couple of months in the refrigerator.


THE REVIEW

I was surprised by how much sugar there was in this recipe, so much so that I even ask Hubby if he had forgotten to dump it in the pan (I didn't think that much sugar would have dissolved so quickly and easily).  But they are, after all, sweet pickles.  And have to say, for essentially winging it on the spices, they came out delicious.  We will most certainly be making out own pickles again, if not every time, from now on.  I mean, really, which ones here look better and would you prefer (plus contain no preservatives or other nonsense)?